This page is a setup guide for broadcasters. It covers activating the extension, each config option, the watch camera, and setting up the OBS overlay.
1. Activate the Extension
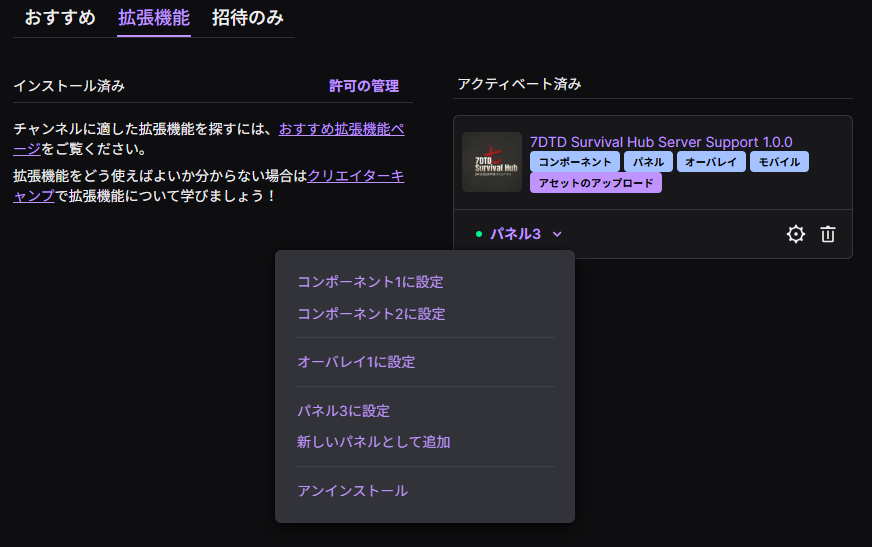
From Twitch’s Creator Dashboard → Settings → Extensions, install and activate this extension. When you activate it, you choose which slot to use it in.
- Panel (the panel area below the stream — up to 3 slots)
- Component (icons to the right of the player — up to 2 slots)
- Overlay (superimposed on the video — 1 slot)
You can set the same extension in both a Component and a Panel at once. If “Set in Panel 1” doesn’t appear, Panels 1 and 2 are already filled by other extensions, so disable one you don’t need to free up a slot. You can adjust the display order by dragging in your channel’s “Edit Panels.”
2. Open the Config
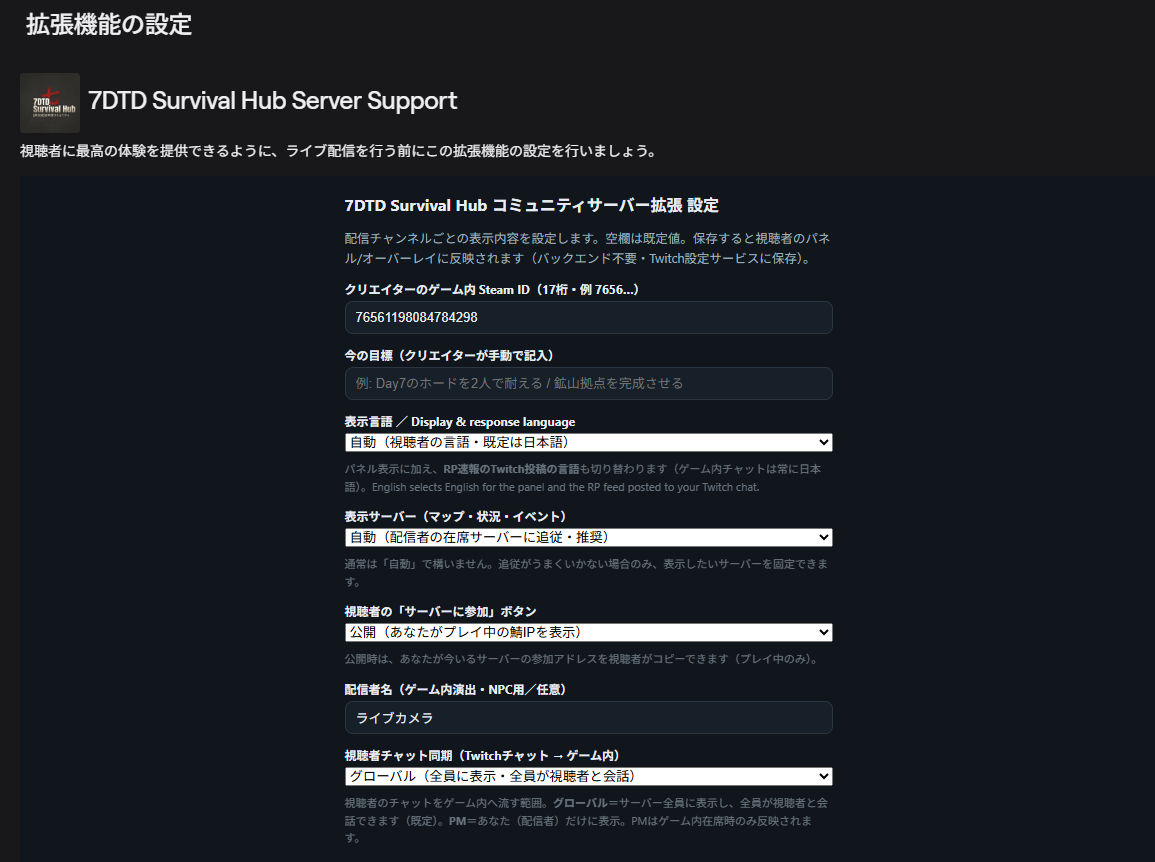
Open the extension’s Configure screen to set what is displayed for each channel. Blank fields use the default values.
Basic Options
| Option | Description |
|---|---|
| Steam ID | Your in-game Steam ID (17 digits). If unset, your creator status is hidden. |
| Current Goal | A goal you enter manually (e.g., survive the Day 7 horde). |
| Display Language | The language for the panel display and RP news posts on Twitch. In-game chat is always Japanese. |
| Displayed Server | The server that the map and status refer to. Normally “Auto (follow the server you’re on).” |
| Join Button | Whether to show the join IP to viewers. |
| Broadcaster Name | For in-game staging and NPCs (optional). |
| Viewer Chat Sync | The scope of Twitch chat pushed into the game (global / PM). |
3. Watch Camera (Automatic Staging While Away)
In the 📷 camera settings, you can automatically control your live camera (watch camera). Viewers do not operate it.
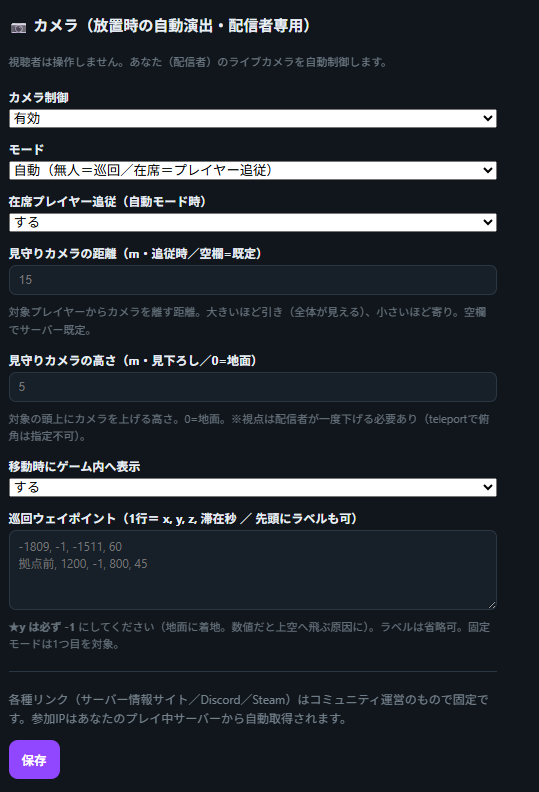
| Option | Description |
|---|---|
| Camera Control / Mode | Enable it and choose a mode (manual / auto = patrol when nobody’s there, follow when players are present / fixed). |
| Follow Present Player | In auto mode, follows a player who is present. |
| Watch Camera Distance: Near | The close-up distance (m). |
| Watch Camera Distance: Far | The pulled-back distance (m). If you set it together with Near, it will alternate near ⇄ far on each switch (cutaways). If left blank, only Near is used. |
| Watch Camera Height | The height of the overhead view (m; 0 = ground). |
| Show In-Game When Moving | Whether to announce movement in the game. |
| Patrol Waypoints | Points to patrol when nobody’s there (one line = x, y, z, dwell seconds. ★y must always be -1). |
💡 If you enter both Near and Far, each follow switches close-up → pulled-back, so it never gets monotonous.
4. Saving Applies Your Changes
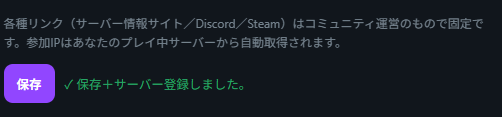
Press Save at the bottom of the config, and your settings are saved to the Twitch config service and applied to viewers’ panels/overlays (the server is registered at the same time, enabling camera control and so on).
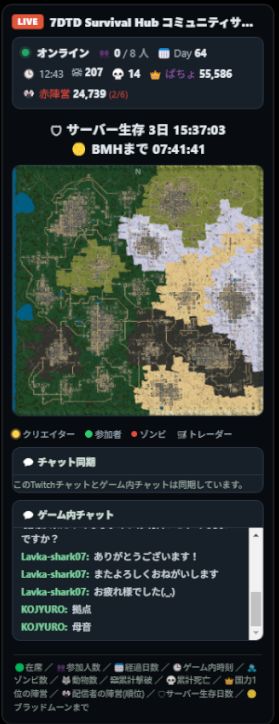
5. OBS Overlay (HUD for Your Stream Screen)
We also provide an OBS HUD to superimpose on your stream video. Add a Browser source in OBS and enter the following URL.
https://7daystodie.jp/twitch-ext/obs.html?lang=ja- Switch server:
?floor=ACP(2F/1F/AS/ACP) - Hide server info:
?serverinfo=0(doesn’t show the connection IP, only “chat sync”) - Chat display time:
?chatttl=90(seconds; old comments auto fade out) - Join parameters with
&(e.g.,obs.html?lang=ja&floor=ACP&serverinfo=0)
Setting Up BGM Playback
In the properties of the OBS Browser source, check “Control audio via OBS” and the built-in BGM will play on your stream (adjust the volume in the audio mixer). If you want to hear it yourself too, set audio monitoring to “Monitor and Output” in the advanced audio properties.
6. About Viewer Linking
For viewers to unify their coins with their in-game balance or use support (such as real support supplies), each viewer needs to link their Twitch and in-game character on the community site’s linking page (7daystodie.jp/link) (just Twitch login → enter Steam ID; no membership registration required).
Linking is not done inside the extension (we’ve separated Steam ID collection from the extension to accommodate the review process). Unlinked viewers automatically see a link to the linking page in the extension’s “Support” and RP tabs, so on stream it goes smoothly if you tell them “link up from 7daystodie.jp/link in the description/chat.”
If you’re unsure about the settings, we recommend starting with entering your Steam ID → set the camera to auto + follow → add obs.html to OBS. You can also discuss finer adjustments in the community Discord.